Android Debug Bridge (adb) is a versatile command-line tool that lets you communicate with a device. The adb command facilitates a variety of device actions, such as installing and debugging apps, and it provides access to a Unix shell that you can use to run a variety of commands on a device.
ADB is included in the Android SDK Platform-Tools package. To get started using ADB, download the latest version of the platform-tools (about 8 MB), then extract them to your desired location. For example:
$ unzip /path/to/platform-tools-latest.zip -d ~/platform-tools
Once extracted, add the platform-tools directory to your PATH environment variable so that you can execute adb from anywhere.
Now that you have set up the adb tool, let’s take a look at some of the things it can do.
What is Fastboot?
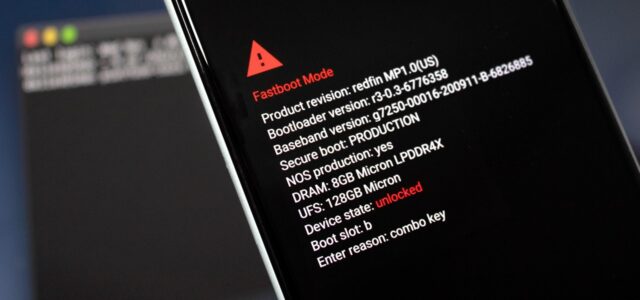
It’s a diagnostic tool used to modify the flash filesystem via a USB connection from a host computer. It is typically used to reflash the system partition or to update the boot image.
The most common use for it is flashing recovery images and ROMs onto Android devices. If your phone has an unlocked bootloader, you can use it to flash a custom recovery image (such as TWRP) onto your phone. Once you’ve done this, you can use the custom recovery to install a custom ROM or root your phone.
If you’re developing Android apps, you can use it to debug your app on a connected device. When you issue the adb reboot command, the Android system boots into fastboot mode instead of the normal boot mode. In fastboot mode, you can issue the commands to perform actions such as flashing custom partitions or images onto your device.
Common ADB commands
There are a variety of ADB commands that can be used for different purposes. Here are some of the most common ADB commands:
- “adb devices”: This command will list all of the devices that are connected to your computer via ADB.
- “adb shell”: This command allows you to access the Linux shell on your device. From here, you can run a variety of commands to manage and troubleshoot your device.
- “adb reboot”: This command will reboot your device.
- “adb install “: This command will install an Android app on your device from a file located on your computer.
- “adb uninstall “: This command will uninstall an Android app from your device.
Fastboot commands for Android
In order to use ADB or Fastboot commands, your Android device must have USB debugging enabled. To enable USB debugging, go to Settings > About Phone and tap the Build number seven times. Then return to the previous screen and select Developer options. Scroll down to find and select USB debugging.
Once you have enabled USB debugging, you will be able to use ADB and Fastboot commands with your Android device.
ADB Fastboot Commands for Android:
- To reboot your device into fastboot mode, use the command “adb reboot fastboot”.
- To check the current status of your device, use the command “fastboot devices”. This will list all connected devices that are in fastboot mode.
- To flash a new ROM or kernel to your device, use the command “fastboot flash “. Replace with the name of the file you want to flash.
- To erase a partition on your device, use the command “fastboot erase “. Replace with the name of the partition you want to erase.
Commands for Windows
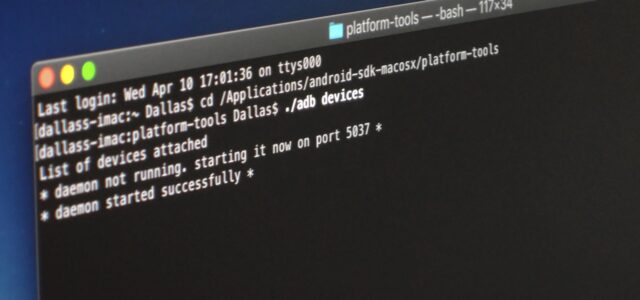
There are a number of commands that can be issued to perform various tasks, such as booting your device into recovery mode or flashing a new ROM. Here are some of the most common commands for Windows:
- Boot into Recovery Mode: fastboot boot recovery.img
- Flash a New ROM: fastboot flash ROM.zip
- Wipe Cache Partition: fastboot wipe cache
- Wipe Data/Factory Reset: fastboot wipe data
Commands for Mac

If you’re using a Mac, the process for issuing commands is a little different. Instead of using the “adb” command, you’ll need to use the “./fastboot” command. So, for example, if you wanted to flash a new recovery image to your device, the command would be:
./fastboot flash recovery filename.img
Of course, you’ll need to have the tool installed and in your PATH for this to work. You can get it from the Android SDK Platform-Tools package. Once you have it installed, just open a terminal window and navigate to the platform-tools directory. Then give the command above (replacing “filename.img” with the actual name of your recovery image file).
Other common commands include:
./fastboot oem unlock – this will unlock your bootloader so that you can install a custom ROM
./fastboot reboot – this will reboot your device normally
./fastboot reboot-bootloader – this will reboot your device into the bootloader mode
Commands for Linux
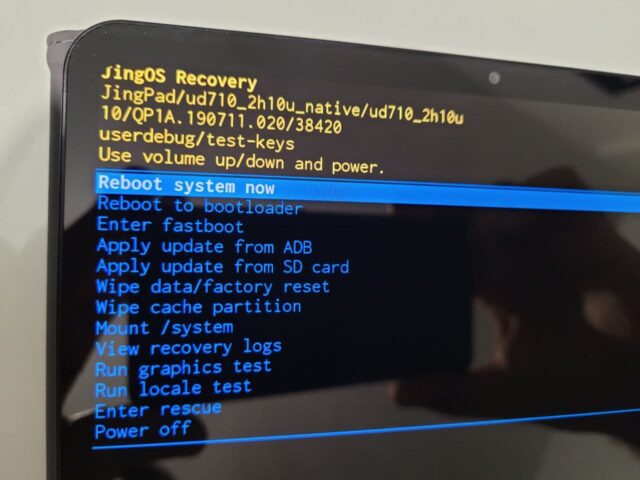
One common use of the adb is to send commands to a device. It is a diagnostic and engineering protocol that you can boot your Android device into. In this mode, you can issue commands to perform actions such as flashing new system images and kernels onto your device, without having to go through the normal boot process.
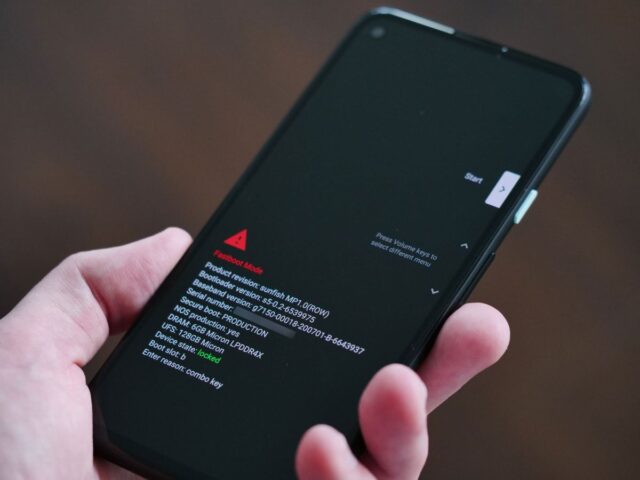
To use the adb shell to issue commands, first ensure that your device is in Fastboot mode. To do this, power off the device, then press and hold the Power and Volume Up buttons until you see theBootloader menu. From here, use the Volume up and down keys to navigate to Recovery mode, then press the Power button to select it. At the recovery screen, press the Power button again followed by Volume Up to enter Bootloader mode.
Once your device is in Bootloader mode, connect it to your computer using a USB cable. Then open up a terminal or command prompt window and navigate to the platform-tools directory of your Android SDK installation. From here, you can issue any command by typing “fastboot [command]”. For example, to flash a new kernel image called “kernel.img”, you would type “fastboot flash kernel kernel.img”.
For a full list of available commands, type “fastboot –help” at the command prompt.
Wrapping up
After reading this article, you should have a good understanding of the Android Debug Bridge and how it can be used to manage your devices. You should also know how to use commands to unlock your bootloader, flash a custom recovery or kernel, and more.
If you have any questions about the ADB or the commands covered in this article, feel free to ask in the comments section below.


