
Hey there, fellow Amazon sellers! If you’re like me, you probably know the importance of good product photos.
They’re the first thing potential buyers see, and let’s be honest, we all judge a book by its cover. So, let’s chat about how you can create stunning product photos right from the comfort of your home.
Why Product Photography Matters

First impressions count. A high-quality image can make your product stand out in a crowded marketplace. It builds trust with customers and can even reduce returns because buyers know exactly what to expect.
To further enhance your understanding of the importance of high-quality images, check out ProductScope AI, which offers valuable insights and tools for optimizing your product photography.
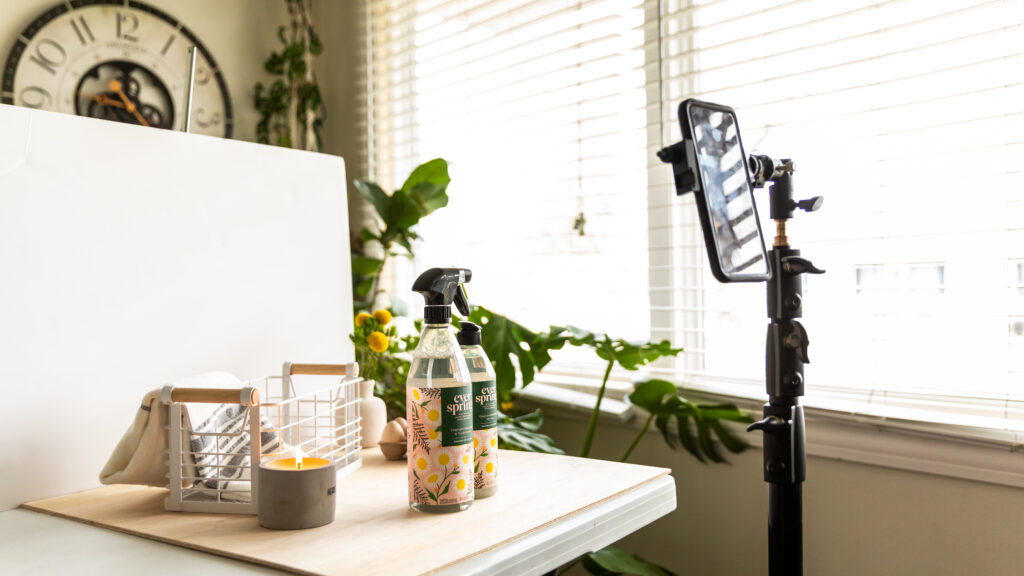
Setting Up Your Home Studio
Do you want to take better pictures but don’t have the money for a fancy studio? Making your own home photo studio doesn’t have to cost a lot. With some simple choices, you can set up a space that looks great in your home.
Setting up a photo studio at home seems hard. But it’s not as tough as you think! All you need are a few things to make professional pictures. With just a little work, your photos will look better than ever.
Choosing the Right Space
Look for a room with plenty of natural light. A big window is your best friend. If that’s not an option, don’t worry; we’ll cover lighting solutions later.
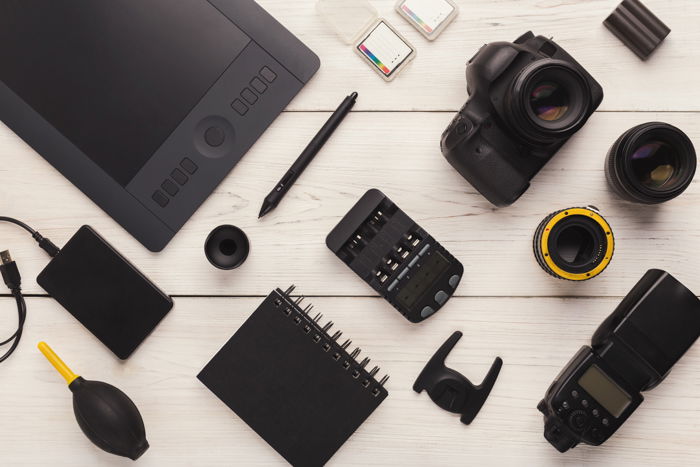
Essential Equipment
You don’t need the latest DSLR camera to take great photos. Here’s a basic list of what you’ll need:
- Camera or Smartphone: Modern smartphones have excellent cameras. If you have a DSLR, even better!
- Tripod: Keeps your camera steady, which is crucial for sharp images.
- Lighting: Softbox lights or ring lights can help when natural light isn’t available.
- Backdrop: White or neutral-colored backgrounds work best. Consider using a lightbox for smaller items.
- Props: Anything that enhances your product’s appeal without distracting from it.
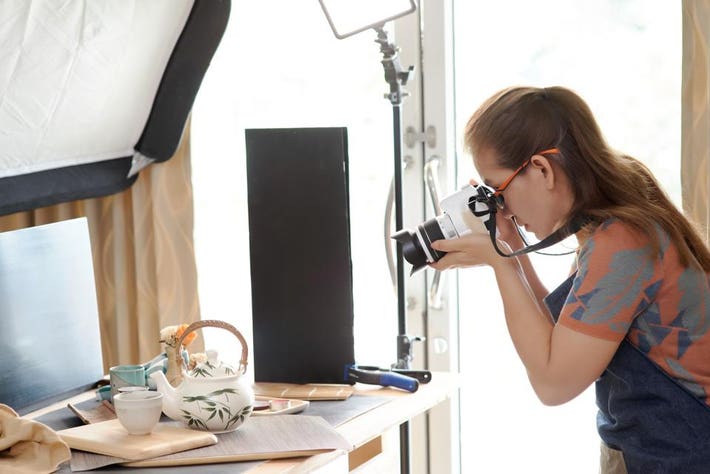
Lighting: The Game Changer
Lighting can make or break your photos. Aim for soft, diffused light to avoid harsh shadows.
Natural Light
Position your product near a window. Use white curtains or a diffuser to soften the light.
Artificial Light
Softbox lights are affordable and mimic natural light. Place them at a 45-degree angle to your product to reduce shadows.
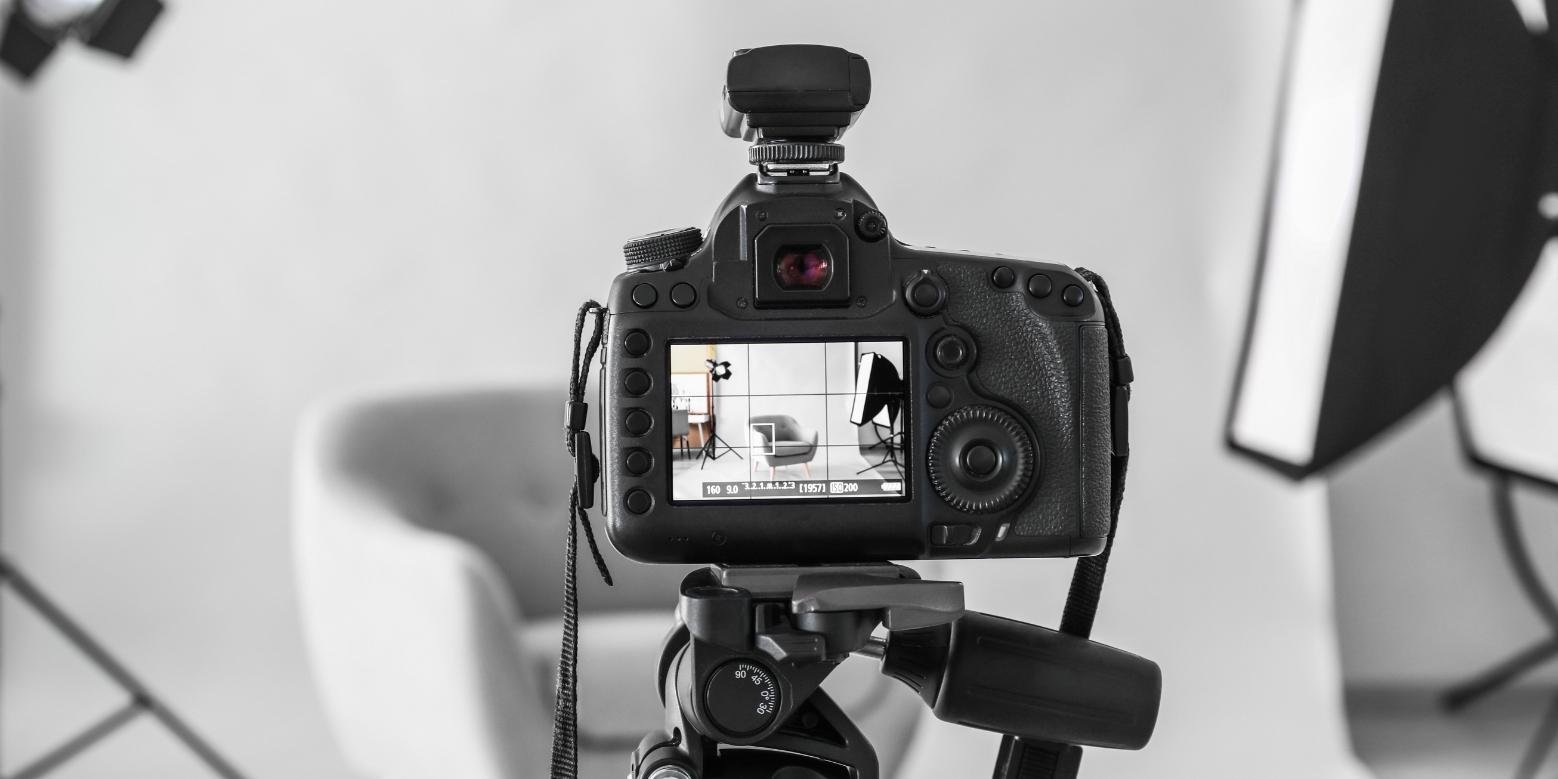
Setting Up Your Camera
Whether you’re using a smartphone or a DSLR, here are some tips to get the best shots:
- Use the grid: Helps with composition and keeping your product centered.
- Focus: Ensure your product is in sharp focus.
- Stabilize: Use a tripod or a stable surface to avoid blurry images.
Composition Tips for Stunning Photos
How you frame your shot is just as important as the equipment you use. Let’s talk about composition techniques that can elevate your product photos.
Rule of Thirds
Imagine your frame is divided into nine equal parts by two vertical and two horizontal lines. Place your product along these lines or at their intersections.
Fill the Frame
Get close to your product to highlight details. This technique works well for textures and intricate designs.
Use Negative Space
Leaving empty space around your product can make it stand out and look more appealing.
Post-Processing: The Finishing Touch
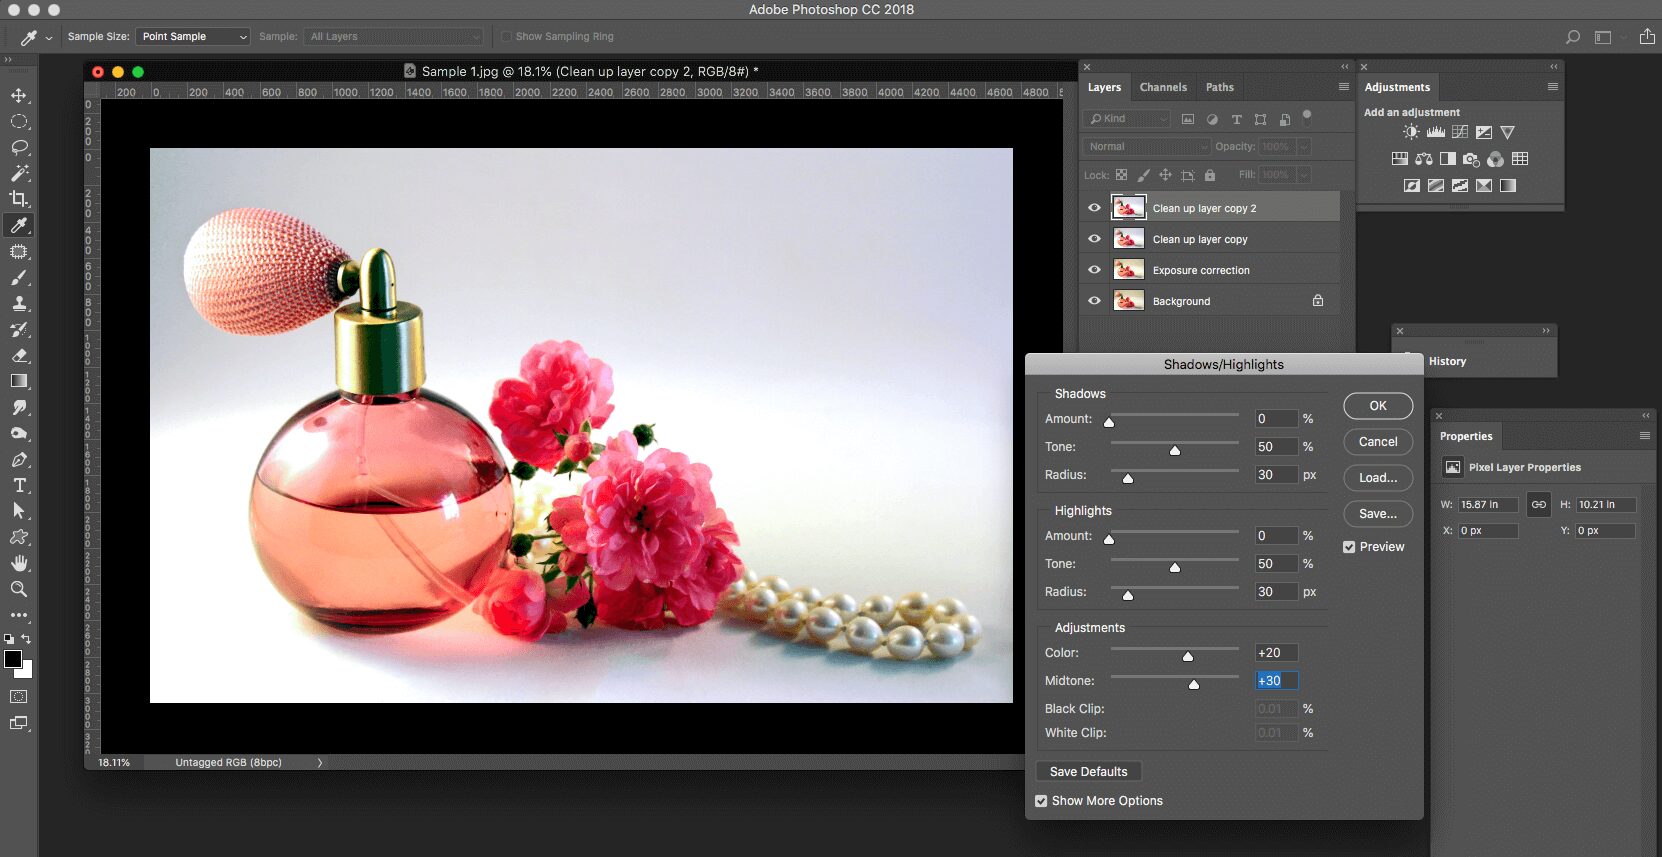
Editing your photos can enhance their quality. You don’t need to be a Photoshop expert to make improvements.
Basic Editing Tips
- Crop: Remove any distracting elements from the edges.
- Adjust Brightness and Contrast: Make sure your product is well-lit and stands out.
- White Balance: Ensure the colors in your photo match the actual product.
- Sharpen: Enhance details to make your product look crisp.
Recommended Tools
- Adobe Lightroom: Great for both beginners and advanced users.
- Canva: User-friendly and perfect for quick edits.
- Snapseed: A powerful mobile app for editing on the go.
Showcasing Your Product
Now that you’ve taken some stunning photos, let’s talk about how to present them on Amazon.
Main Image
Your main image should be on a plain white background. This is the first thing customers see, so make it count.
Additional Images
Use these to show different angles and details. Lifestyle shots can be very effective in helping customers visualize the product in use.
- Front and back views: Show the entire product.
- Close-ups: Highlight important features.
- Lifestyle shots: Display the product in a real-life setting.
Image Size and Quality
Amazon recommends images that are at least 1000 pixels on the longest side. High resolution is key for zoom functionality.
Common Mistakes to Avoid
Even with the best equipment and intentions, it’s easy to make mistakes. Here are a few common pitfalls and how to avoid them.
Poor Lighting
Dark or overly bright photos can turn customers away. Aim for balanced lighting.
Cluttered Backgrounds
Keep the focus on your product by using simple, clean backgrounds.
Blurry Images
Always use a tripod or stable surface. Make sure your camera’s focus is sharp.
Over-Editing
While editing is important, don’t go overboard. Customers should see an accurate representation of your product.
Tips for Specific Product Categories
Different products require different approaches. Let’s break down some tips for various categories.
Clothing and Accessories
- Model Shots: Show the item being worn.
- Detail Shots: Highlight fabric, stitching, and any unique features.
- Consistent Lighting: Ensure colors look true to life.
Electronics
- Size Comparison: Use a common object to show scale.
- Feature Highlights: Focus on unique selling points.
- Clean Background: Keep it simple to highlight the product.
Home Decor
- Styled Settings: Show the item in a home setting.
- Multiple Angles: Capture different views.
- Close-Ups: Highlight textures and materials.
My Personal Gear Recommendations
Over the years, I’ve tried various tools and gadgets. Here are some of my favorites:
- Canon EOS Rebel T7: A great entry-level DSLR.
- Neewer 18-inch Ring Light: Perfect for balanced lighting.
- AmazonBasics 60-Inch Lightweight Tripod: Affordable and reliable.
- Foldio3 Portable Lightbox: Ideal for small to medium-sized products.
Wrapping Up
Taking great product photos at home is totally achievable. With the right setup, a bit of practice, and some post-processing, you can create images that captivate and convert.
Remember, the goal is to make your product look its absolute best. So, experiment, have fun, and watch your sales soar!


