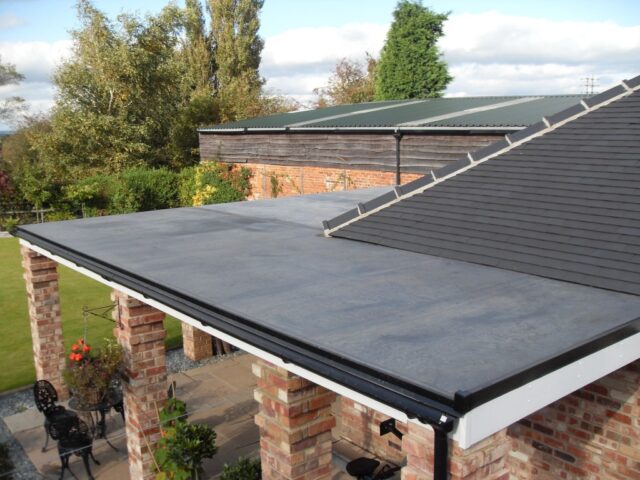
Flat roofs are cool. They look clean and minimal and have become very popular over the last few years because of their style versatility. However, there’s one thing that makes flat roofs not as popular as the regular, slated ones and that’s leaking. You have to make sure your flat roof is waterproof – especially if you live somewhere where it rains and snows. Luckily, many advancements have been made over the years and nowadays there is more than one way to waterproof your flat roof and that’s exactly what we’ve wanted to talk to you about. Today, we’re going to give you a few tips, so you can be certain that no matter how heavy the rain is – you and your property are going to stay dry.
1. Inspect Your Roof

First things first, you have to thoroughly inspect your roof if you’ve been having problems with leaks. The silver lining in this situation is that even if you’re experiencing regular leaks that does not mean that you need to replace the whole roof, rather just fix a portion of it or patch some things up. On the other hand, what’s not so great is that identifying the problem can be sometimes tricky if you don’t know what you’re looking for.
Furthermore, before you climb up and start inspecting, keep a few things in mind. First and foremost, before you start, make sure your roof is safe to walk on and keep your ladder secure. If needed, have someone hold the bottom portion of the ladder as you climb up.
2. Call For Professional Help
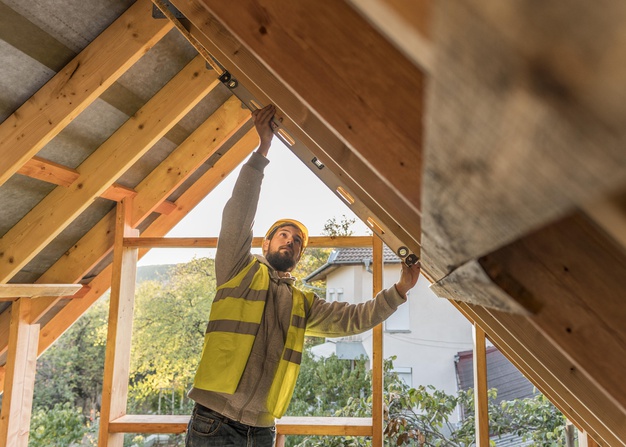
It doesn’t matter whether you’re afraid of heights or you simply don’t know what you’re supposed to do up there – you can always call for help. In fact, it’s much smarter to call for help than to try and fix this kind of problem all by yourself unless you have some previous experience doing so. Most calls they get are about fixing the mistakes homeowners made to their roofs because they didn’t want to call for professional help. Find more details at oahu-roofing.com/kaneohe-roofing
3. Use Reinforced Bitumen Membranes
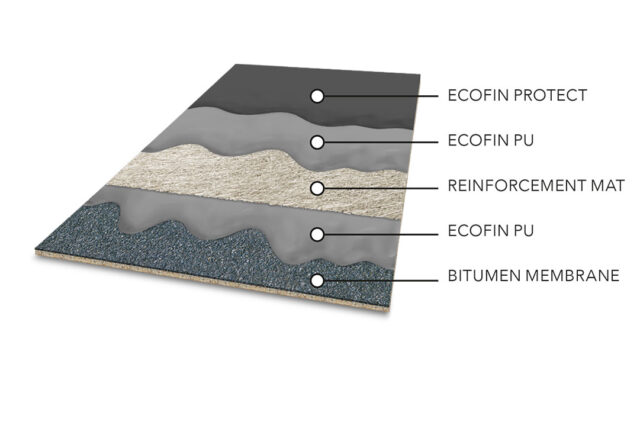
RBMs are the most commonly used material for waterproofing flat roofs. It’s a rather simple process, but we wouldn’t recommend doing it all by yourself. We’ll give you a few DIY options later. The process of waterproofing using RBMs involves laying a couple of layers of material, usually two or three, across the entire surface of the roof. These layers are then bonded by hot bitumen, which is then combined with polyester to complete a waterproof membrane.
Appling these membranes is done in several different ways. Four of the most common methods are pouring and rolling, torching, cold adhesive, and self-adhesive. All of them pretty much guarantee the same results, so the applying method is pretty much a matter of preference.
Now, if you’re confident in your DIY skills, you may try and do this job all by yourself. In that case, let us tell you how you can make your roof waterproof all by yourself.
4. Use A Repair Kit
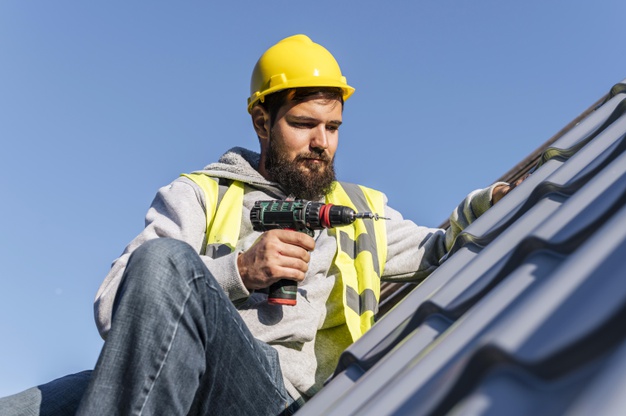
Repair kits or patch kits are ideal solutions for small areas that need to be fixed. In most cases, you can find dedicated repair kits for your particular roof, made by the manufacturers themselves. What’s great about patch kits is that they can be used and applied without any effort whatsoever. They’re ideal for inexperienced DIYers looking for a quick fix, but it’s important to mention, these are only applicable if we’re dealing with an already waterproof, but damaged roof. You can make a non-waterproof one, waterproof, by stamping on patch kits all over it.
Patch kits are usually in a form of a very strong sticker that’s applied to the damaged surface, However, there are some others as well, primarily the ones that need to be brushed on the affected area, but those are also quite easy to apply.
5. Use Liquid Rubber

Liquid rubber is a great waterproofing solution for both large and small areas. VertecRoofing suggest that roofs are easier to access and are becoming increasingly popular, especially in urban areas, they do still require a high level of care when moving around. Still, for maintenance, you need so high quality material.
Also, it’s quite easy to do, so anyone regardless of their skill will be able to do this quite efficiently. As opposed to patch kits, liquid rubber can be used on brand new roofs to make them waterproof. On the other hand, it’s not a quick fix, so if you were looking for something to patch things up here and there this is probably not the option for you.
But, as we’ve said, liquid rubber is great for making roofs waterproof from the start. In some instances, you’ll need to prime the surface before applying the rubber, but that’s not always the case. Either way, you’ll want to cover the roof in the thick coat of liquid rubber and spread it evenly across the whole surface. This will create a nice, elastic coating that’s going to last you a very long time.
6. Use A Sealant
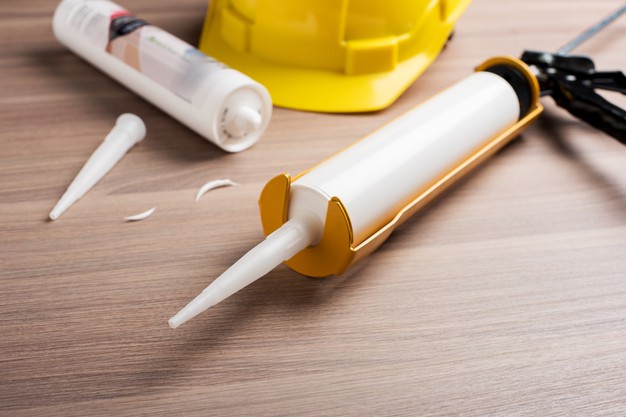
Finally, you can use a sealant to waterproof your flat roof. You could argue that sealant is somewhere in the middle between patch kits and liquid rubbers. It’s a quick and easy solution, that’s mostly used for smaller surfaces and quick fixes, but it can also be used to cover an entire surface in the waterproof coating.
What makes sealant one of the best ways to do this kind of work is the fact that it’s a simple and easy solution and everyone can do it. Depending on the layering, a sealant can be more than just a quick fix and it can last you for quite some time. However, if you’re in need of something equally as durable, but even more long-lasting, we would probably advise sticking with the liquid rubber.
Conclusion
As you can tell, there are a few ways to waterproof your flat roof, ranging from quick and partial fixes to the ones that ensure long-lasting water protection. Hopefully, we’ve managed to give you a few good tips on how to do this, so you don’t have to worry about leaks every time it rains.


