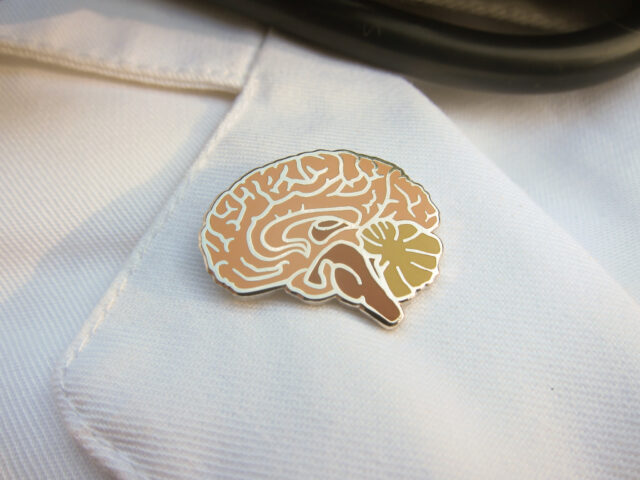
Enamel pins are a small and simple accessory that can give your jacket or any other piece of clothes a more polished and suave look. Beyond being just plain clothing ornaments, a lot of enamel pins can also be valuable collectibles, with some pieces even commanding prices of a few thousand dollars. This is on top of enamel pins often serving as badges that people can use to show their achievements, support or affiliation for causes or organizations they care about.
They may be small, but enamel pins are very customizable and can have any kind of design you desire. Using a combination of modern and traditional techniques, many companies can replicate exact colors in both soft enamel and hard enamel pins and even produce high quality and highly detailed designs using silk-screen printing techniques.
In fact, some custom pin manufacturing companies like MyEnamelPins will go so far as to use a photo-etching process that can create very intricate designs that would be too difficult to produce using any other method.
Make sure to keep reading if you want to find out how enamel pins are made.
Designing the enamel pin

This is the first step in creating any kind of enamel pin, which can be done digitally or manually. Since enamel pins have a limited surface area, the design should not be with too much detail, as these would probably be lost in the stamping or molding process. Also, unless you choose a printed enamel pin, you should avoid using the various gradients or transparent colors on your design.
Applying the design
The first process of applying design to enamel pins is by molding. Molded pins are created with casts of mold. The design is then struck onto a sheet of metal which is usually magnesium. This is called the master and is the negative of the design (like a roll of a camera film that is used to produce photographs). A few other master copies are made depending on how much pins need to be produced.
To make the rubber mold, the master copies are cut into exact outlines into a rubber disk, and then each metal piece is placed in the cavities that have been created. Another rubber disk I s then put on top of the first rubber disc before into goes for curing inside a vulcanizer. This is the process that embeds all the intricate details of the master copies onto the rubber, creating the mold.

If you want to make custom enamel pins, you should check out this website.
This curing process should take at least an hour. After, the 2 sides of the rubber molds are separated so that all the grooves can be cut on their surfaces. The grooves will later direct the flow of molten metal into the rubber mold once it has been prepared for the enamel pin production process. Molten metal is then poured in the casting machine, where the molds have been placed. After about a few minutes of spinning on an average of about 500 rpm, the mold is removed and the metal needs to dry for a minute or two. Each pin is removed from the rubber mold and washed using detergent, abrasive stones and water to remove all the excess dirt and smoothen out all the rough edges. After this follow the plating and painting process to finish the design of the enamel pin.


