There are tons of beginner’s guides to vaping, but very few are aimed at experienced users who already know their way around vape juices.
That’s why Vape Craft Inc. decided to share some essential tips for intermediate users looking to enhance their vaping experience. Here’s what their experts had to say.
Be sure to read the text below to get a better understanding of vape juices and what you can do to produce the best possible product for your needs. After reading this, you will hopefully be ready to make your own vape juice and enjoy the benefits of this product.
Steep Your Vape Juices to Enhance the Flavor
Steeping your vape juices is vital for a better vaping experience. It enables all the e-liquid ingredients to congeal, making the aroma smoother and enhancing the overall flavor.
But before putting on your lab coat and dusting off your beakers and test tubes, you should know that the steeping process doesn’t require any scientific know-how. It’s as straightforward as steeping tea.
You only need to find a cool, dark place (a pantry, for example) to store your vape juices. Let them sit for a couple of weeks while checking in with them periodically to shake the bottles.
If you don’t want to wait that long, there’s another way to steep your e-liquids. Fill a bowl or similar container with warm water and put the e-juice bottles inside after sealing them in a Ziploc or other plastic bag. Leave them be until the water cools, and they’ll be good to go.
Clean Your Vaping Device Like a Pro

You may be an intermediate user, but how many times have you cleaned your vaping device? If you vape daily, you should clean it at least once a week.
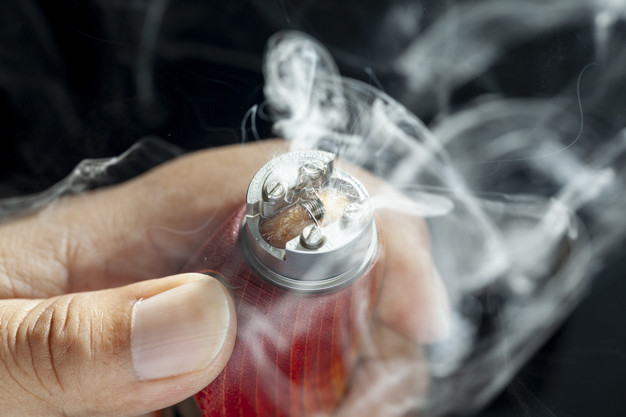
If you’ve never cleaned it before, your device may not be working optimally. Cleaning will extend its life, not to mention improving your vaping experience. You wouldn’t want to get dry hits or taste a foul flavor from all the accumulated coil gunk.
How do you go about cleaning your vape? Either with warm water or isopropyl alcohol and preferably using cotton swabs.
If there’s a lot of gunk around the coils, you can soak them overnight to remove the residue from all the nooks and crannies. Just be sure to remove the wick first so that it keeps soaking up your e-juices properly.
Upgrade Your Vape Gear
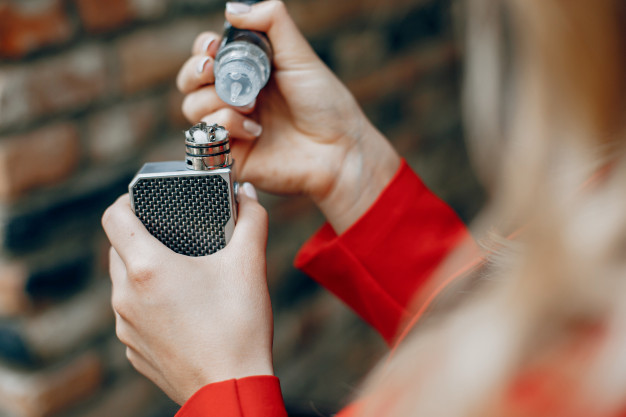
If you’ve advanced to an intermediate level of vaping, it might be time for your vape gear to catch up.
Perhaps you love your vape pen and don’t think you could ever use anything else. But what if a pod mod turns out to be a better alternative for your needs?
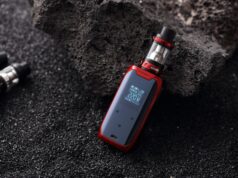
What if a box mod that supports MTL (Mouth-to-Lung) or sub-ohm vaping opens up a whole new world of exciting vaping experiences? Box mods come with wattage and temperature controls and other settings for better vaping and bigger clouds.
You never know until you try.
There’s always room to upgrade your vape gear. You could get a new atomizer that’s better suitable for your sub-ohm tank. You could get new coils that vaporize your vape juices more efficiently and effectively. There’s a world of possibilities out there.
Make Your Own Vape Juice
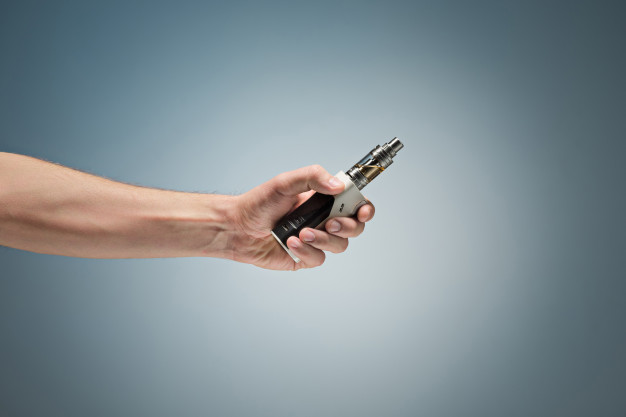
The DIY road to make e-juices can be quite exciting, as long as you know how to do it right.
Now’s the time to put your lab coat on and test your basic lab skills.
You’ll need pipettes or syringes, nitrile gloves, bottles for your e-liquids, and the necessary ingredients.
Propylene glycol (PG) and vegetable glycerin (VG) are key ingredients of every e-liquid. How much PG and VG you’ll use will depend on what you want to achieve. More PG will give you a harsher “throat hit,” while more VG will produce bigger and thicker clouds.
Find a reputable vendor who offers pharmaceutical-grade VG and PG. Base liquids are typically available in VG/PG ratios of 50/50, 70/30, and 80/20, but you can buy them separately to make a custom ratio.
The next ingredient you’ll need is flavoring. Choose from hundreds of different e-juice flavor concentrates, but keep in mind, they come diluted in a PG solution, so they’ll affect your base liquid’s ratio.
Once you have the right bottles for your DIY vape juice, put your pipettes or syringes to use and start mixing.
Use nitrile gloves to prevent contamination, especially if you plan on adding diluted nicotine (which also comes in a PG solution). Make sure it doesn’t come in contact with your skin, as it could be potentially dangerous.
Once your custom vape juice is good to go, don’t forget to let it steep for a while.
A good piece of advice here is to find video tutorials where you can see an experienced person making vape juice. That way, you can follow the steps and become an expert in record time.
Of course, we should mention that staying safe is essential here. Before you embark on the journey of making your own vape juice, be sure that you have all the necessary equipment and that you take all the necessary precautions.
Conclusion

Congratulations! Now you’re officially on the way to graduating to an advanced level of vaping! You know all the essential tips and tricks for becoming a pro and enjoying a more favorable vaping experience. All that’s left is to start applying them and turn your vaping journey into a more fun, exciting, and satisfying adventure.
Be sure to read up on this topic by exploring more texts, studies, videos, and articles that talk about this topic. Going from the intermediate to the advanced stage in the vape juice world is not a difficult task, but it does take practice and patience.
Again, make sure that you have taken all the necessary steps to avoid mishaps and vape away!


